
Winter cycling in Montreal can work for a short commute if you choose a route that suits the conditions, carry the basics and have a way home if the weather changes. The best first ride is usually one you already know, on a day when you can start in daylight and leave yourself extra time. A short practice trip makes it easier to work out whether your gloves, tires and planned turns are comfortable before you need to arrive at work on time.
Start with the Ville de Montréal bicycle network map. It distinguishes protected lanes, shared routes and multi-use paths and shows year-round segments. That classification is useful for choosing a route, but it does not tell you how a lane looks at your departure time. Snow, ice, temporary obstructions and construction can change what is usable on a particular morning.
Pick a route you can follow without rushing
Look for a route with manageable crossings and space to slow down. A protected lane can feel easier than a busy street, but watch for turns across the lane, driveways and intersections where the layout changes. Evaluate the whole journey, including the last block near your destination. A comfortable ten-minute stretch does not compensate for a difficult junction you have no way around.
If you normally take a riverside route, bridge or multi-use path, check whether that specific connection is available before making it part of your commute. The approach to a bridge can have different conditions from the neighbourhood streets on either side. Allow for an alternate crossing or leave the bicycle at home if your only option involves a segment you are uncomfortable riding.
Before relying on your new route, ride it in daylight when you have no deadline. Identify a few places where you could stop safely to adjust a light or check directions. Notice where trees shade the pavement, where water runs across the path and where you would need to look over your shoulder to merge. Those details are easier to remember after a practice ride than from a map on a phone.
Decide whether today is a cycling day
| What you notice | Why it matters | Practical choice |
|---|---|---|
| A familiar route is clear and visibility is good | You can focus on learning how the bike feels in colder conditions | Try a short ride with extra time |
| Light snow hides the pavement | Paint, rough spots and ice can be difficult to see | Shorten the ride or choose a clearer route |
| Freezing rain or widespread ice is possible | Grip and stopping distance can change quickly | Use another way to travel |
| The route home looks worse than the morning route | Leaving work may mean different conditions and less daylight | Plan your return before deciding to ride |
Take the return journey seriously. A clear path in the morning might be slick after an afternoon thaw and a drop in temperature. Look at the forecast for both journeys and make a decision based on the part of the day you are least prepared for. A flexible plan is easier if you already know the walking route to the nearest station and have somewhere secure to leave the bicycle.
Make the bicycle easy to control and see
Before setting out, check the brakes, tires and lights. If the bike has been sitting for months or braking feels uncertain, get it checked rather than using your commute as a test. Choose suitable tires for the surfaces you actually expect to encounter. A local mechanic can help you compare options for your wheel size and check clearance if you are considering a different tire or adding fenders.
Use front and rear lighting appropriate for the ride and make sure a jacket, bag or cargo does not block either light. Test the controls while wearing your normal gloves. If you cannot comfortably grip the brake levers or shift gears, change the glove setup or postpone the ride. Do the same with your layers: turn your head in both directions to make sure your hood or scarf does not obstruct your view.
Slow down before bends and leave space to respond to changes in grip. Avoid assuming a painted line, metal cover or shaded patch will feel like dry pavement. If the surface looks unsuitable, stop somewhere out of the traffic stream and reassess. Being prepared to turn back is part of planning a reliable commute.
Plan for parking, road salt and a transit fallback
Check where you can lock the bike at your destination and whether the rack remains usable after snowfall. Keep your lock accessible with gloves on. If your building has an indoor storage rule or a designated entrance, ask how that works before arriving with a wet bicycle. Carry a dry layer if you expect to walk into a meeting soon after the ride.
Road grime builds up quickly. Wipe down the bike when you can and check the chain, brake area and lights regularly. If you notice grinding, sticking controls or reduced braking, have the problem looked at before your next trip. The city’s cycling and bike paths page is a useful starting point for network information and reporting a clearing problem.
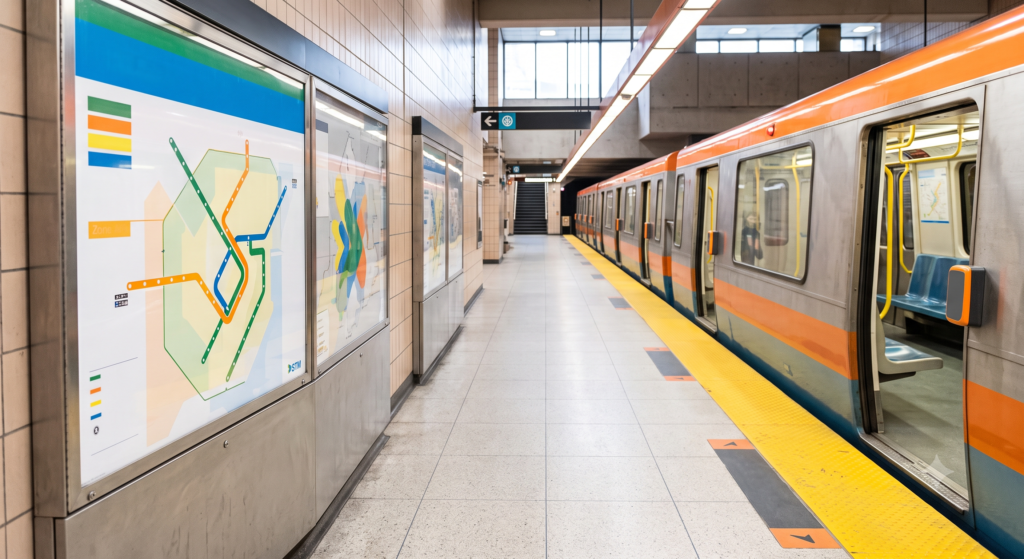
Choose an alternate route through our Montreal metro and bus guide, then check the STM directly for service and bicycle transport conditions if you are bringing the bike. If your fallback is to drive, our winter parking guide explains why temporary signs matter during snow operations.
Frequently asked questions
Are all Montreal bike paths open in winter?
No. Use the city’s map to identify year-round routes and check actual conditions before leaving.
Do I need to start with a long commute?
No. A short practice ride on familiar streets lets you test your equipment and route with room to change your plans.
What if conditions change while I am at work?
Check the route before you leave and take your planned alternate ride home if conditions are unsuitable. Leave the bike securely if you cannot take it with you.